The first time I tried real Kombucha not the soft drink-thingy which is available in the Austrian supermarkets, was back in Los Angeles, California three years ago. In the hip and very trendy part of Venice Beach, where they brewed it themselves. I always thought how sad it is that I can’t have real Kombucha in Austria, because in the US you get Kombucha in every supermarket. Winter last year was the first time I tried to make my own. I had a lot of up and downs but now I have a tried and proofed recipe.
I am always experimenting with the second fermentation, where you could add anything you want, from fruit juices or pieces of fruits to chia seeds and herbs. Most of the times I am simply using up the fruits I am having at home before they turn bad and I would have needed to throw them away with some herbs from Ninas garden (but don’t tell her;) )
A bit of a background story about Kombucha (source: organicburst)
Kombucha tea has been used for thousands of years around the world. In 2014 a study published in the Journal of Medicinal Food reviewed 75 existing studies on the benefits of Kombucha! 3 benefits in particularly were very interesting:
•Kombucha eliminates iron deficiency – researchers suggest Kombucha to be especially beneficial for vegetarians and vegans because it enhances the absorption of iron from plant sources. It also contains Vitamin C that is known to enhance iron absorption in the body
•Weight loss – Kombucha may help balance metabolism and in studies it has been shown to decrease blood sugar levels.
•Kidney and liver health – Kombucha may help prevent kidney stones and liver toxicity and promotes liver detoxification.
If you are new to Kombucha start slowly with a small glass a day and see how it feels. For some people it could upset the stomach.
Before I get into the details on how to make Kombucha yourself, 3 very important things:
- Cleanliness! EVERTHING must be CLEAN! This is a very crucial step, since we are creating the perfect environment for good bacteria growth! Because if bad bacteria slips in, it could ruin your batch and make you really sick too!
- Mold – If you see mold on your Scoby you need to throw everything away.
- Temperature – perfect environment fo your Scoby to grow is a dark warm place.
How to make your own homemade kombucha:
Makes 1 liter:
1 Liter clean water
100 g refined white sugar
6g loose green tea
1g loose black tea
1 Scoby – symbiotic culture of bacteria and yeast
50ml fruit juice or loose pieces of fruits cut into small pieces
Directions:
First fermentation:
In a clean pot bring water to boil. Add sugar and loose leaf tea and let steep for 20 minutes. Strain through a fine-mesh strainer covered with cheesecloth.
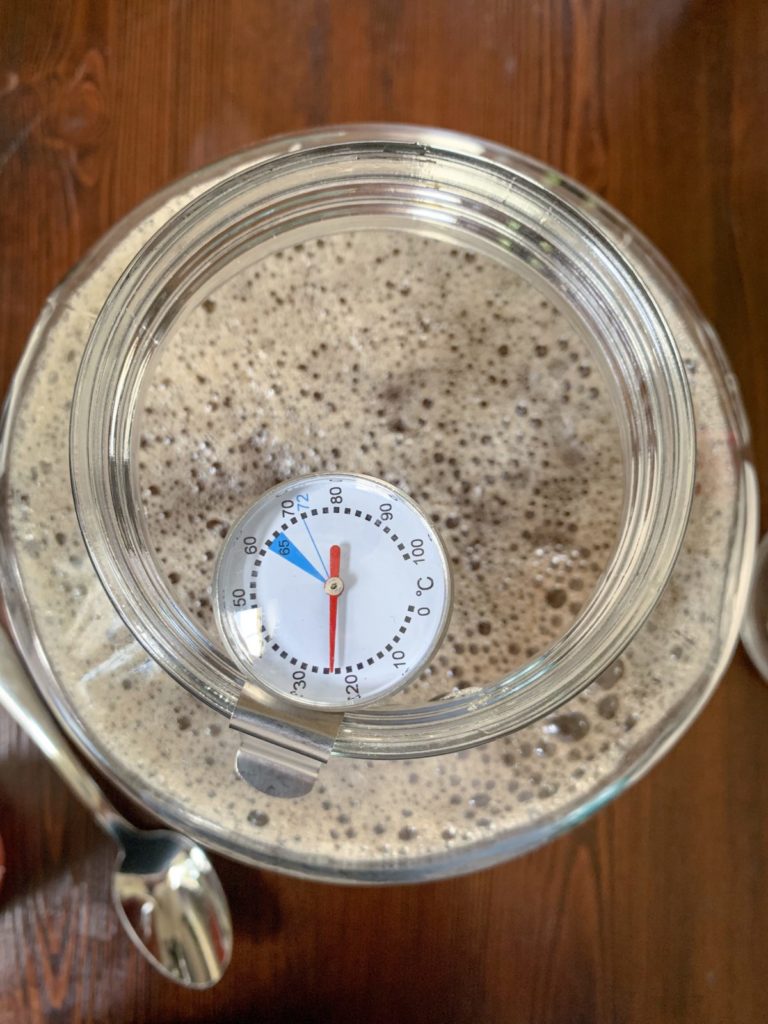
Let cool to room temperature (21-24°C). Very important step because if the tea is too hot or too cold your Scoby could die!
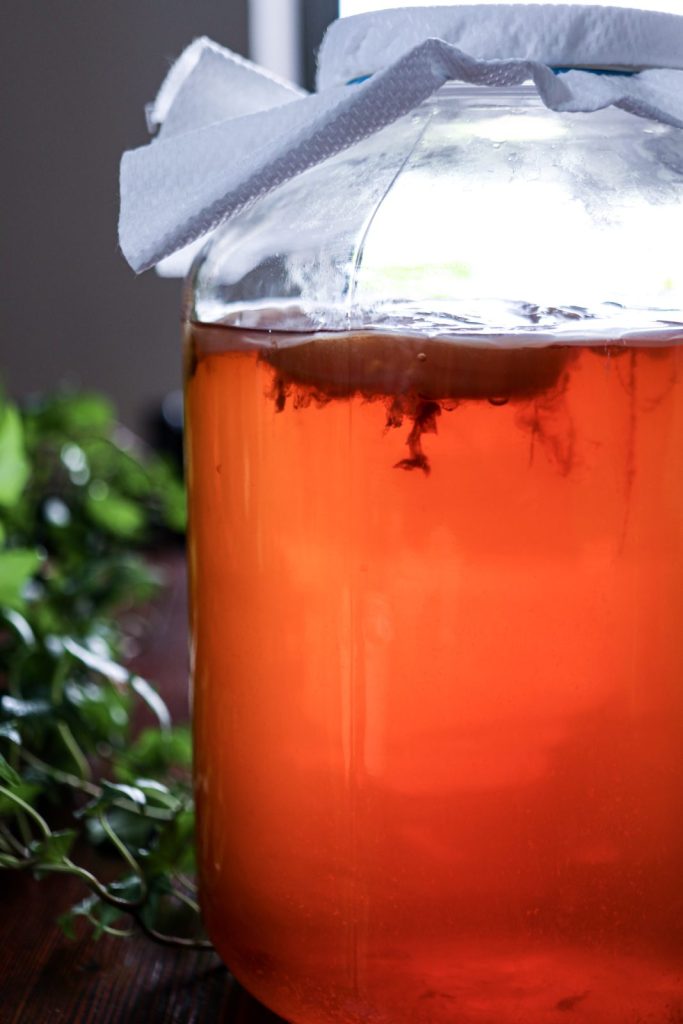
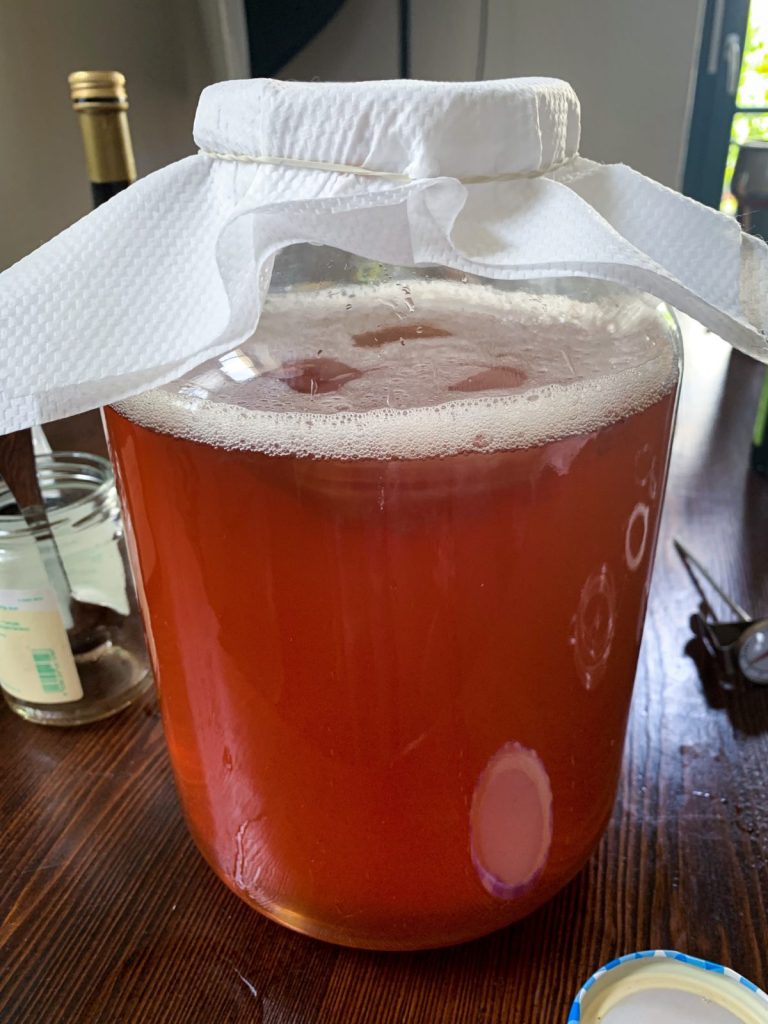
Pour the sweetened tea into a large clean jar with the Scoby. Cover with several layers of cheesecloth and secure with rubber bands. Let stand in a warm, dark place for 5-10 days. The warmer the air temperature, the faster the kombucha will ferment. The longer the tea ferments, the more sugar molecules will be eaten up by the scoby, the less sweet it will be. Taste tea every couple days to determine if it has fermented enough. Stop fermentation when the tea is slightly vinegary and slightly sweet.
Second fermentation:
At this point you could either start again the first fermentation with a fresh brewed tea with the Scoby or you put the Scoby in a glass with some Kombucha from your first patch and put it a side.
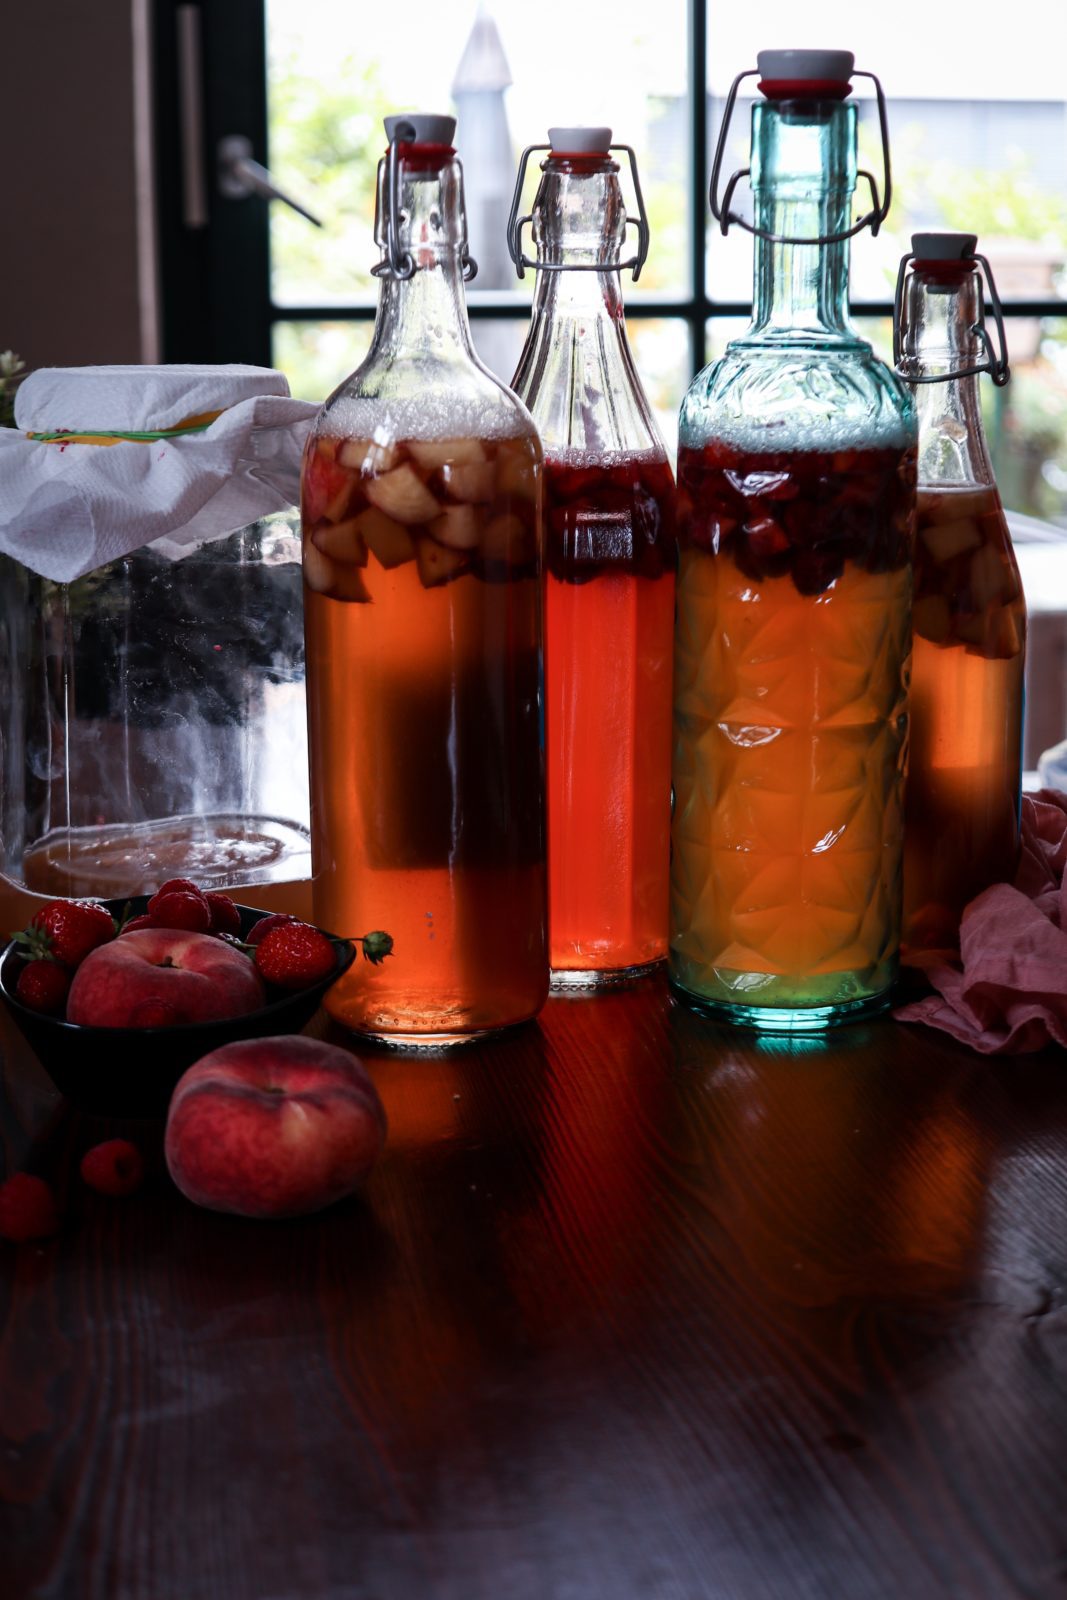
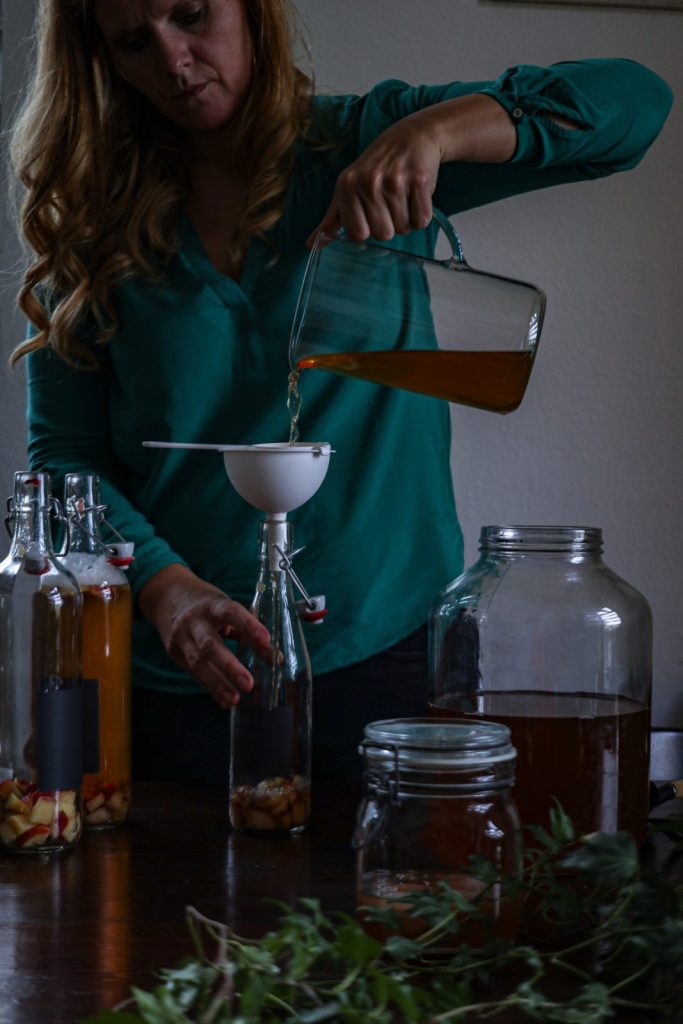
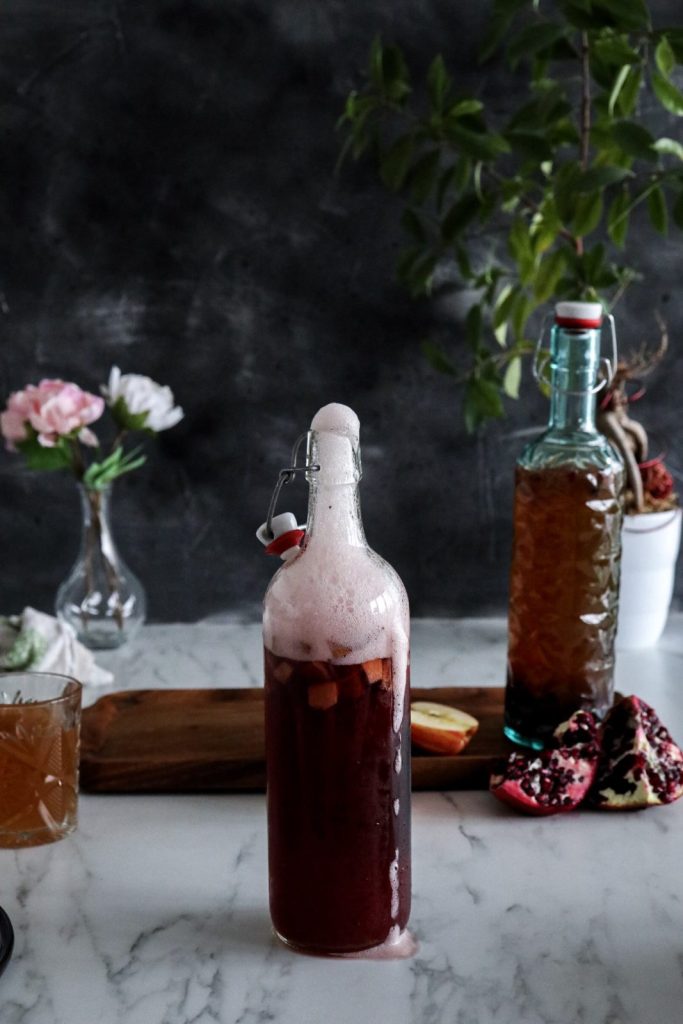
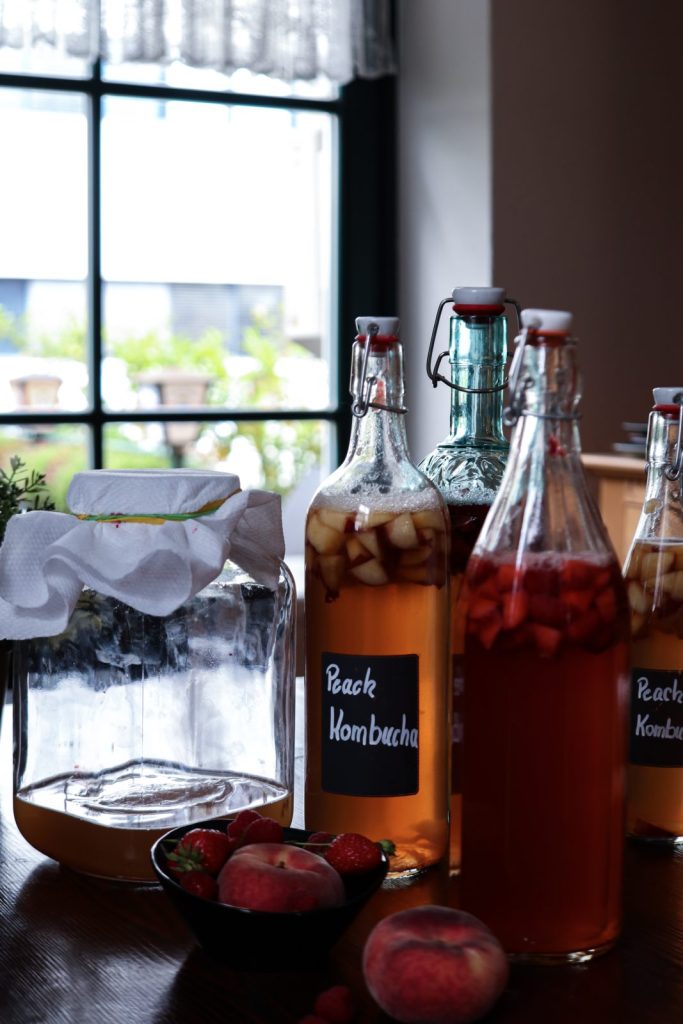
Pour the tea into clean glass-bottles and add fruits. We’ve added strawberries, raspberries, peaches and/or mint. Leave a bit of space (3-4cm) at the top to allow pressure to build and prevent bottles from exploding. Let them stand 4-15 days. We always place them in the fridge to slow the carbonation process. The bottles need to be chilled before opening to avoid explosion.
To prevent the kombucha from exploding, make sure to:
- Burb the sealed kombucha every day, meaning open the bottle! Most important step!
- Use quality glass bottles for the second fermentation
- Avoid placing kombucha in places which are to warm
Some things you will need to make your own homemade Kombucha:
- Large glas jars like these
- Cheesecloth
- Bottles for the second fermentation
- or you could get at starter kit like this one
What to do, if you don’t want to make a new patch of kombucha after the first fermentation but don’t want to throw away the scoby?
Make a SCOBY hotel!
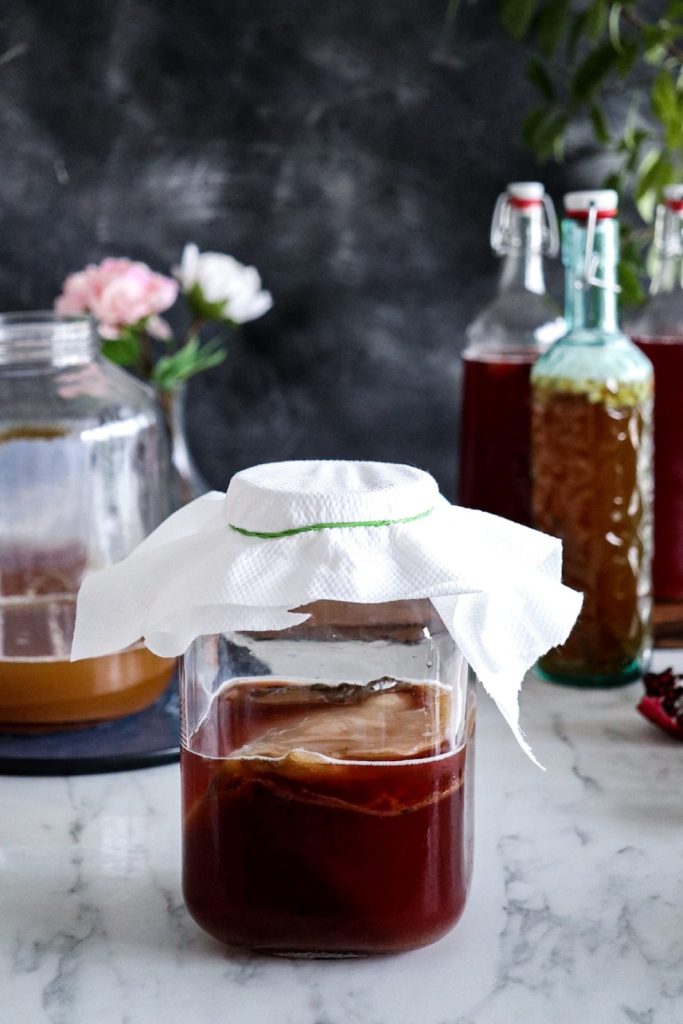
Each time you make a batch of kombucha, the SCOBY spawns a new colony. This colony forms at the top of the liquid in the container, and since your SCOBY is already floating at the top, the new colony will usually settle on top of the older SCOBY and create a new layer. That’s why SCOBYs grow thicker each time you use them.
To store the unused Scoby, make a scoby hotel, meaning a container containing freshly brewed room temperature sweet tea and kombucha (first fermentation) – half’n half. The mixture should be 50% sweet tea, 50% kombucha. There should be at least twice as much liquid in the jar as SCOBY mass. Cover the jar with cheesecloth and store it in a shaded, cool area.
Good Luck and have fun while making your own! Tell us how you did your second fermentation, we are always curious.
Don’t forget to tag us @twosisterslivinglife on Instagram or Facebook.
With this recipe I am participating in the AUSTRIAN FOOD BLOG AWARDS 2019 in the category “Glas mit Sinn”.

